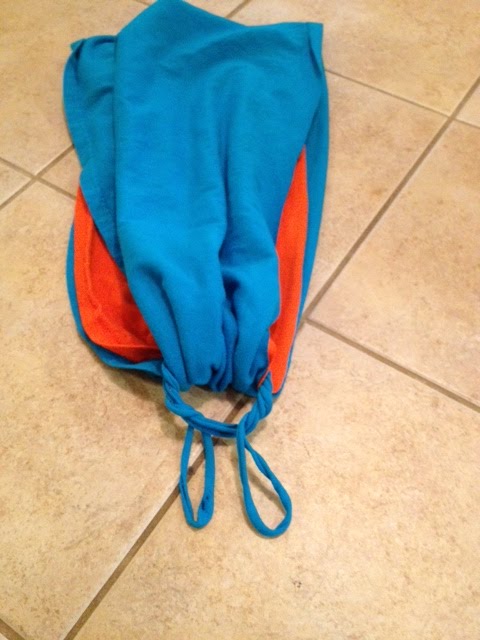
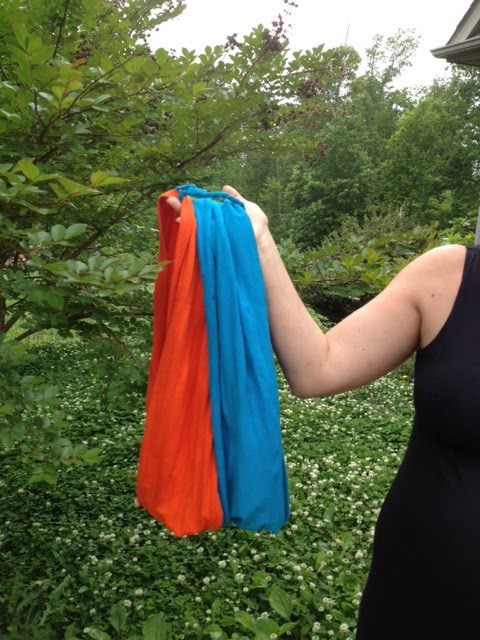
- It's as comfortable as a wrap and easier to put on--even the average man can do it all by himself. (No offense to you daddy's who have mastered your Moby skills--you are way above average in my book!)
- It's at least as pretty, if not prettier, depending on the color t-shirts you use, as any other carrier on the market. You could even use the t-sirts to make a statement if the logo is placed in the right spot. I'm keeping my eyes peeled for a couple of tie-dye t-shirts in size men's medium! You could make loops and sashes in so many different colors you could coordinate with your entire wardrobe and the seasons and holidays--if you really wanted to go crazy with it.
- You can make it for almost nothing--nothing if you can use t-shirts you already have, and almost nothing even if you have to go to the thrift store.
- It's so easy to make even a child can do it.
- Three men's t-shirts in coordinating colors that fit a little loose on you. I wear a women's large (bust size 38), and used a men's medium t-shirts for the two loops and an xlarge for the sash. They should be t-shirts without a side seam--just one continuous loop. Most men's t-shirts are of this kind.
- A pair of sharp scissors.
- A cute fat chubby little baby!
Cut two of the shirts across from armpit to armpit.
Put one loop inside the other.
(I liked to have both raw edges on the bottom and both hemmed edges on the top so that when I put it on--with the hemmed edged on top--I get a nice v-neck across the chest--just plain pure senseless vanity.)
Gather one side of the loops and tie them together with a strip of t-shirt you cut from one of the shirts. Don't tie it too tight--you want to be able to easily slide the tie up and down the loops for a comfortable fit.
I just kept looping the ends like I was tying them until I'd gotten all the way around. Then I made a real tight square knot to secure everything.
Voila! Your all done! Now to put it on:
Hold the bound loops in one hand.
Place them over your head like a necklace and separate the loops one to the left and one to the right.
Put your right arm through the loop on the right and your left arm through the loop on the left.
Now put another arm through one of the loops so it falls down around your waist (err, um--or around your baby bump, whatever the case may be).
Put one fat chubby little squishy baby leg through the loop still over your shoulder and spread the loop out across his bum and up over his shoulder if he doesn't mind.
(Isn't he too cute! He loves this carrier and he loves to pose for the camera! He even dropped his sword--bottom left--to help me demonstrate!)
Now put another fat chubby little squishy baby leg and a fat chubby squishy mamma arm through the loop that's been around your waist and spread the loop over your shoulder and across baby's bum and shoulder.
Take a moment to spread the loops out smoothly around your back and shoulders and baby's back for the most comfortable fit. You can also grab the little loop you used to tie the big loops together and pull down on it until you get the criss-cross section of the loops over your back bra strap, or wherever it feels most comfortable to you.
Take the sash you cut from the third t-shirt and center and spread it across the baby's back.
(I picked this green just for you, Bonnie!)
Tie it nice and snug around your back.
Stretch it out smooth across baby's bum and back and around your waist (if you have one).
Smile for the camera!
If you check out the link to Baby K'tan you can watch numerous videos on how to put your baby in many different positions with this carrier.
Here's another one I made since first posting:
It's hard to tell on the green but both it and the over-the-shoulder purple piece are tie-dyed! I found another tie-dyed t-shirt to use in another wrap as soon as I find another coordinating t-shirt. Goodwill is usually pretty accommodating when I'm looking for something in particular. Must be the law of attraction!
I'd love to see your photos if you make this!


